
How to Set Up Barcode Inventory for Retail Store: 8 Practical Steps
Manual stock counts eat up hours you don’t have. Checkout lines slow down when a cashier can’t find a price. And the number on your shelf never quite matches the number in your spreadsheet. Setting up barcode inventory for retail store operations fixes all three problems at once, and it doesn’t require an enterprise-grade system to do it.
A small shop doesn’t need a warehouse-scale platform. It needs one connected workflow: product data flows into a barcode, the barcode gets scanned, and that scan updates your point-of-sale or inventory software in real time. Get that chain right, and stock counts stop being a monthly headache.
This guide walks through eight practical steps — from picking software to running your first cycle count — so you can build that workflow without guesswork.
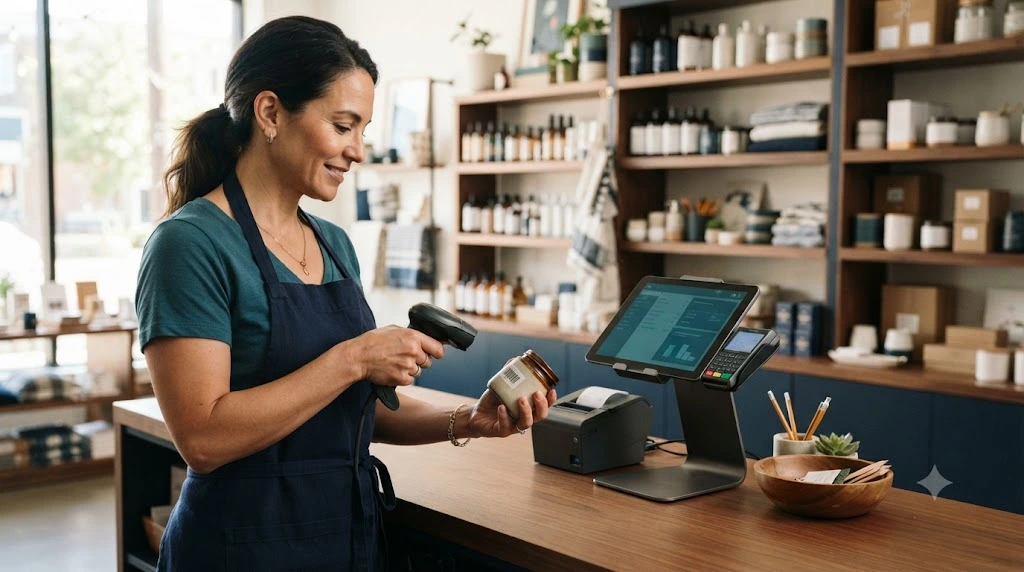
Barcode Inventory for Retail Store: What It Is and How It Works
At its core, a barcode inventory system gives every item — or every variant of an item — a scannable identifier tied to a product record. Scan a size-medium blue t-shirt, and the system knows exactly which product that is, not just “t-shirt.”
Each scan triggers an update somewhere in your records. A sale reduces stock. A delivery increases it. A return adds it back. A stock count reconciles what’s on the shelf with what the system believes is there.
It helps to keep one distinction straight: the barcode is just the identifier. Your POS or inventory platform is where the actual product data — price, cost, quantity, variant — actually lives.
What You Need Before Setting Up Barcode Inventory
Before buying a single scanner, get these five pieces in place. Skipping ahead to hardware is the single most common reason barcode rollouts stall halfway through.
| Requirement | What a small store needs |
|---|---|
| Inventory/POS software | Must support items, variants, stock counts and scanning |
| Barcode scanner | USB, Bluetooth or device camera, depending on workflow |
| Barcode labels and printer | Only for products without usable supplier barcodes |
| Product data | Product name, SKU, price, cost, variant and opening quantity |
| Staff workflow | Receiving, checkout, returns and stock counts |
If you haven’t picked your platform yet, that decision comes first — everything else in this guide depends on it. Compare the best inventory management software for small retail stores before you spend a dollar on hardware, and you’ll avoid buying a scanner that your future software doesn’t support.
Step 1: Choose Software That Syncs Barcode Scans With Stock
A scanner reads a code. It doesn’t manage anything on its own — the software behind it does the real work of updating quantities, flagging low stock, and keeping your records honest.
Look for real-time stock updates, low-stock alerts, support for item variants, a clean receiving flow, easy returns, and export or reporting tools you’ll actually use. Anything less, and you’ll end up patching gaps with a spreadsheet again.
For a single-location shop, an all-in-one POS-plus-inventory system is usually enough. Once you’re managing multiple locations or a large catalogue, a dedicated inventory platform that plugs into your POS may serve you better.
Step 2: Audit Existing Barcodes and Create Missing Product Records
Start by scanning the barcodes already printed on your packaged, branded products. Most of these came from the supplier, and they work fine as-is.
Before you print a single new label, build the product record first. Every item needs a name, SKU, supplier, purchase cost, selling price, variant, reorder point, and opening stock quantity entered into your system.
This is also where a lot of small stores trip up: every size, color, pack size, or flavor is its own variant, not a note in the product description. Treat “Small / Red” and “Medium / Red” as two separate records, each with its own barcode and its own stock count.
Step 3: Decide When to Use Supplier UPCs vs. Internal Barcodes
Branded products that already carry a manufacturer barcode should keep it. There’s no reason to duplicate work that’s already been done for you.
Internal labels are for the items suppliers never barcoded — handmade goods, bundled sets, items you weigh and price by unit, or anything you assemble in-house. Never invent a fake UPC for a product that already has a real one; it breaks reporting and confuses returns down the line.
It helps to understand the difference between an internal identifier and a universal one.
A SKU is yours: your own alphanumeric code, used only inside your own system. A UPC identifies a product more broadly, across any retailer that stocks it, which is why you can’t just make one up. For a clear breakdown of the difference between SKUs and UPCs, GS1 US — the organization that issues UPCs — is the authoritative source, and worth a quick read before you set your own numbering rules.

Step 4: Create and Print Barcode Labels for Unbarcoded Items
Keep your internal numbering simple and sequential. Don’t try to encode the price into the barcode itself — prices change, and re-printing every label because of a sale is a waste of an afternoon.
Most modern POS and inventory platforms can generate the barcode for you directly, which saves a step. From there, match your label printer to the size and volume of labels you’ll actually be printing each week.
Placement matters more than people expect. Labels need a clean, flat, dry surface, positioned so a scanner can reach them easily and so they never cover ingredients, sizing, or safety information.
A few mistakes show up again and again during barcode rollouts:
- Duplicate product codes assigned by accident
- One barcode covering multiple variants
- Cheap labels that smudge or peel within days
- Labels stuck on folds, curves, or spots prone to damage
Step 5: Connect and Configure Your Barcode Scanner
USB scanners are the simplest and cheapest option, and they work well anchored at a single checkout counter. Bluetooth and phone-camera scanning trade a bit of speed for mobility, which matters more during stockroom counts than at the register.
Confirm compatibility with your POS before you buy anything. Not every scanner works with every platform, and returning hardware costs more time than checking a compatibility list up front.
Once it’s connected, set the scanner to the correct mode and run a real test — scan a handful of existing supplier barcodes and a few of your freshly printed internal labels side by side.
If you’re not sure what to check before ordering, POS providers usually publish exactly this. Square’s documentation on how to connect a barcode scanner to a POS is a solid model of the kind of compatibility checks worth running regardless of which platform you use.
Step 6: Add Opening Stock and Test the Full Barcode Workflow
Before you touch your full catalogue, run a small batch through the entire process and watch what happens at each step.
- Scan one item into the system.
- Confirm it shows the correct price and variant.
- Complete a test sale.
- Check whether stock reduced by one.
- Test a return on that same item.
- Receive new stock and confirm the quantity increases.
- Run one sample stock count.
If any step behaves unexpectedly, fix it now. Don’t label and load your entire catalogue until this sequence runs cleanly from start to finish — a workflow error caught on 20 items is an afternoon fix; caught on 2,000, it’s a week of cleanup.
Step 7: Train Staff for Checkout, Receiving and Returns
A barcode system is only as reliable as the people scanning it. Put together a one-page SOP and keep it near the register.
- Scan every item at checkout, no exceptions.
- Scan stock in as soon as it’s received.
- Never adjust stock manually without logging a reason.
- Process every return through the POS, not around it.
- Report damaged or unreadable labels right away instead of guessing the price.
Set role permissions early, too — not everyone on staff should be able to change a price or override an inventory count.
Step 8: Run Weekly Cycle Counts and Fix Inventory Gaps
Full annual counts are exhausting and easy to get wrong. Weekly cycle counts, focused on your fastest-moving and highest-value items, catch problems while they’re still small.
When the physical count doesn’t match the system count, work backward: a missed scan, a return logged incorrectly, a receiving error, damage, theft, or a duplicate product record are the usual suspects. Most discrepancies trace back to one of those five.
Hold off on setting firm reorder levels until you’ve got a few weeks of clean, reliable sales data behind you. Reorder points based on guesswork tend to cause more stockouts than they prevent.
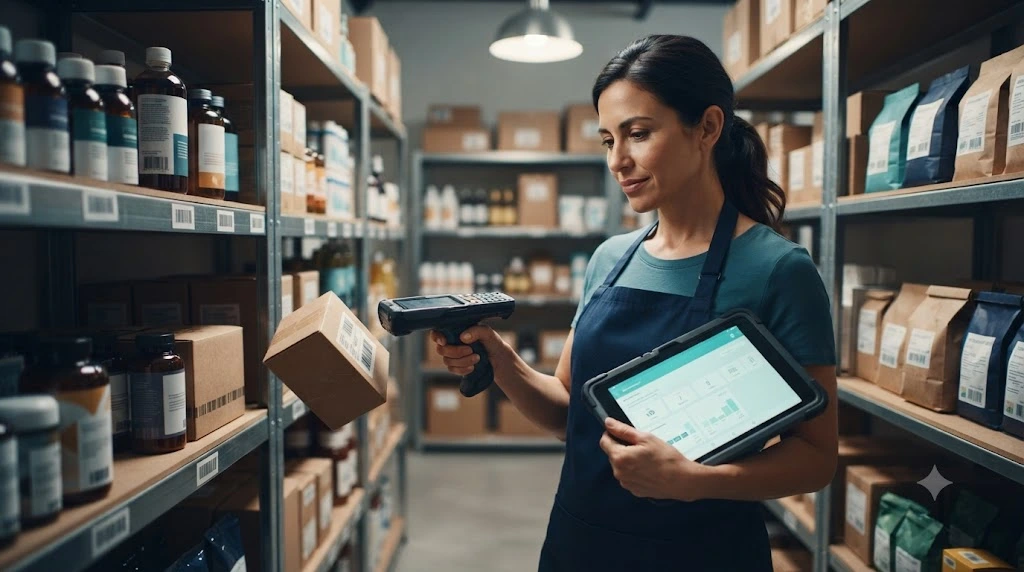
When Should a Retail Store Upgrade Its Barcode Setup?
Your setup should grow with your store, not ahead of it. Here’s a rough guide for when it’s time to add the next piece.
| Store situation | Suitable next upgrade |
|---|---|
| One counter, small catalogue | USB scanner + POS |
| Growing SKU/variant count | Label printer + structured product records |
| Frequent stock checks | Bluetooth scanner or mobile device |
| Multiple locations | Centralized POS with location-level stock sync |
| Online + physical sales | Omnichannel inventory sync |
Running more than one storefront changes the math considerably — stock needs to sync across locations, not just within one. Before you expand, it’s worth comparing POS systems for small multi-location retailers so your barcode workflow scales with you instead of splintering into separate systems per store.
Barcode Inventory Setup Checklist
Run through this list before you consider the rollout finished:
- [ ] Product catalogue cleaned and duplicates removed
- [ ] Every variant has its own product record
- [ ] Existing supplier UPCs tested and scanning correctly
- [ ] Internal labels created only where genuinely needed
- [ ] Scanner connected and tested against real products
- [ ] Sale, return and receiving workflow tested end to end
- [ ] Staff trained on the one-page SOP
- [ ] Weekly cycle count scheduled on the calendar
Frequently Asked Questions
What is the best barcode inventory system for a small retail store? The best system is whichever POS or inventory platform matches your catalogue size and staff workflow — real-time stock updates, variant support, and reliable scanning matter far more than brand name. A single-counter shop rarely needs the same platform as a multi-location retailer.
Can I use existing supplier barcodes for inventory? Yes. Branded products already carrying a manufacturer UPC or EAN code can be scanned and used as-is — there’s no need to relabel them. Reserve your own internal barcodes for items that never came with one.
Do I need a barcode printer for a small retail store? Only if you sell unbarcoded items — handmade goods, bulk or weighed products, or bundles you assemble yourself. If most of your catalogue already carries supplier barcodes, a printer may not be necessary right away.
Can I use a phone instead of a barcode scanner? In many cases, yes. Most modern POS apps support scanning through a phone’s camera, which works well for lower-volume checkout or occasional stock counts. A dedicated USB or Bluetooth scanner is usually faster once scan volume picks up.
How often should a retail store count barcode inventory? Weekly cycle counts on fast-moving and high-value items catch discrepancies early, without the disruption of a full physical count. A complete catalogue count once or twice a year is still worth doing as a final check.
Final Thoughts
A reliable barcode inventory for retail store workflow starts with clean product data, not expensive hardware.
None of this requires expensive equipment on day one. It requires a clean product catalogue and a workflow you’ve actually tested — everything else is a detail that can wait.
Start with your software. Test 20 to 30 items end to end before you touch the rest of your shelves. Once checkout, receiving, and returns all update your stock correctly, label the rest of your catalogue and let the barcode system do the counting for you.